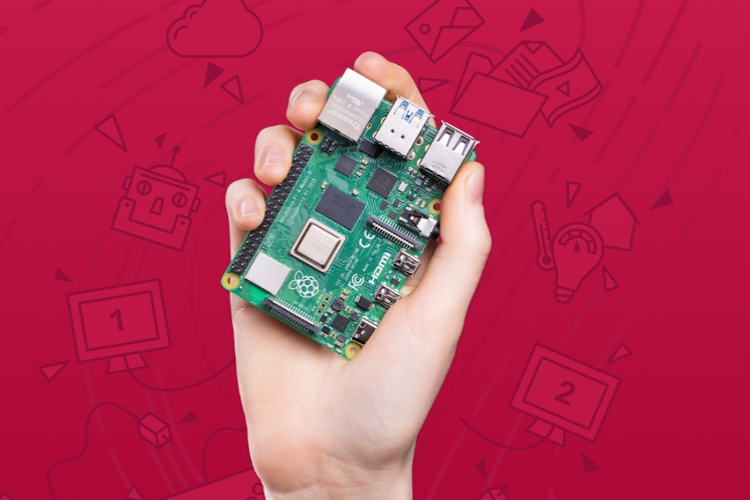
Raspberry Pi 4 was released last year with noteworthy changes including 4GB of RAM, a powerful Broadcom CPU, and the ability to run dual 4K displays at 60FPS. For many Raspberry Pi hobbyists, it means that now they can do much more on their single-board computer. In the last few months, we saw several advanced projects being done on Raspberry Pi 4 and it didn’t break a sweat. Some of the projects were also featured on The MagPi– Raspberry’s official magazine. So in this article, we curate the 15 best Raspberry Pi 4 projects that you can build on your own. We have mentioned both simple and advanced projects, so you can pick the right experiment according to your expertise level. Let’s go through the article and learn about the cool new projects for Raspberry Pi 4 that you can build in 2020.
Best Raspberry Pi 4 Projects to Build in 2020
1. Build a Seismograph
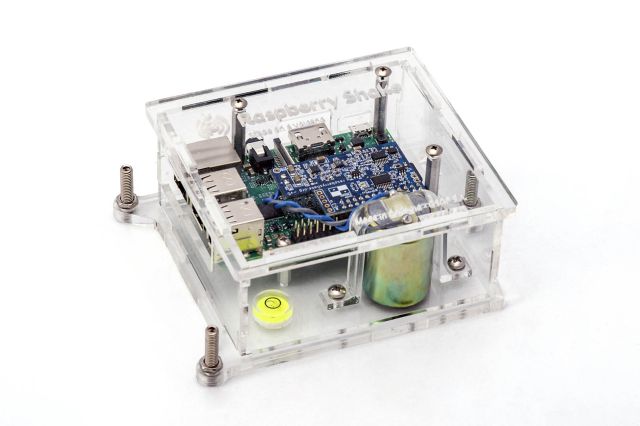
If you recently got the Raspberry Pi 4 then you can start your experiment by building a Seismograph first. It allows you to detect earth tremors through a geophone sensor. The RS1D sensor picks up the ground movement in the form of voltage and then it’s converted into a digital signal through a shake board. Basically, you will need two additional components to complete this project. After that, the signals are stored in Raspberry Pi from where you can alert yourself by smartphone notification or through a sound system. You can also enable data sharing to forward seismic data to the Raspberry Shake community. And the best part is that Raspberry Foundation has featured this project on its official website with detailed instructions so you can easily get started.
2. Real-time Object Recognition
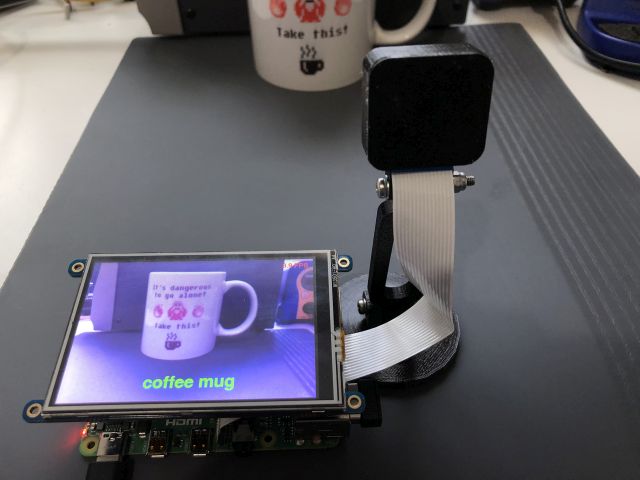
As the world is moving towards ML and AI, how can Raspberry Pi remain behind? Yes, with the latest Raspberry Pi 4, you can recognize objects in real-time using Google’s TensorFlow library and it works like a charm. You will need a camera module for RPi 4 that snaps right into the board. Further, you will have to use a tall heatsink and a fan to cool down the processor and of course, a touch screen display. Finally, set up TensorFlow Lite on your Raspbian and you will be all set to detect objects in real-time. You can find step-by-step instructions over here.
3. Laser Tripwire
Laser Tripwire is a cool project that you can achieve on your Raspberry Pi 4. If you have a laser light or a pointer then you can use it to create a laser tripwire. Every time an intruder breaks the laser beam, the Raspberry Pi 4 will make a sound through a speaker or a buzzer. How awesome is that? You will require an LDR sensor to sense the intensity of light and need to set up a Python module and a few lambda functions on Raspbian. After that, you will be ready to catch intruders at your home using the Raspberry Pi 4. You can learn more about the project from here.

4. Play Retro Games
When Raspberry Pi 4 was released, everyone appreciated the faster internals especially the higher 4GB RAM variant and powerful CPU and GPU by Broadcom. Many believed that they can play intensive games and run retro emulators, however initially, the software was not ready. But now, Raspbian has got full support from RetroPie which allows you to turn your Raspberry Pi 4 into a retro-gaming machine. You can play SEGA games, retro-RPG, Arcade, GBA, NES classic games, and more using RetroPie. So go ahead and install RetroPie to enjoy a large variety of games from yesteryear days on your Raspberry Pi 4. You can head over to RetroPie’s website to download the image.

5. Build a Radio Transmitter
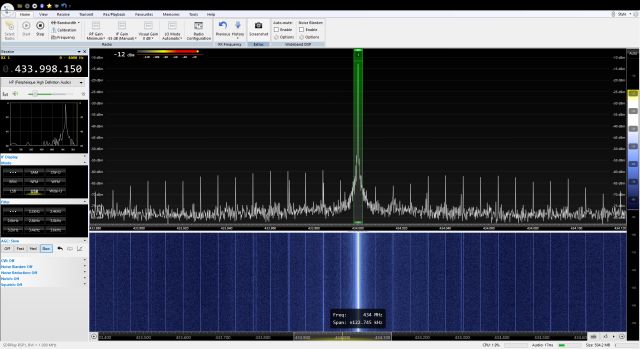
With Raspberry Pi 4, you can create a radio transmitter and without the need for much additional hardware. Earlier, you could build an FM transmitter easily with older Raspberry builds. But after a developer named F5OEO created a new tool called rpitx, now you can modulate and transmit radio signals including FM, AM, SSB, SSTV, and FSQ. It supports radio frequencies from anywhere between 130 kHz to 750 MHz which is amazing. All you need to do is plug a wire antenna on the GPIO port 18 (Pin 12) and execute the rpitx software on your Raspbian Pi 4. Now, you will be able to hear radio signals near your location between those frequencies and you can record them too. You can find the detailed guide over here.
6. Build Your Own Weather Station
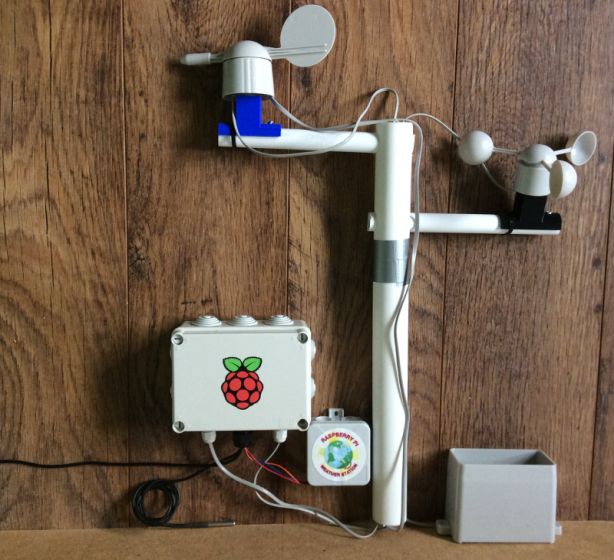
As the name suggests, you can create your own weather station using the Raspberry Pi 4. While the project sounds exciting, it’s a bit complex to set up so proceed only if you are well aware of Raspberry Pi’s working mechanism. For this project, you will need pressure, temperature, wind vane, and humidity sensor. Further, a digital thermal probe, breadboard, anemometer, rain gauge, and jumper wires are also required to complete the weather station. Not to mention, you will have to use an analog-to-digital converter too. Once you have wired everything up, just install the Oracle Raspberry Pi Weather Station software and you will be done. You can find all the steps from Raspberry’s official website.
7. Pi-hole
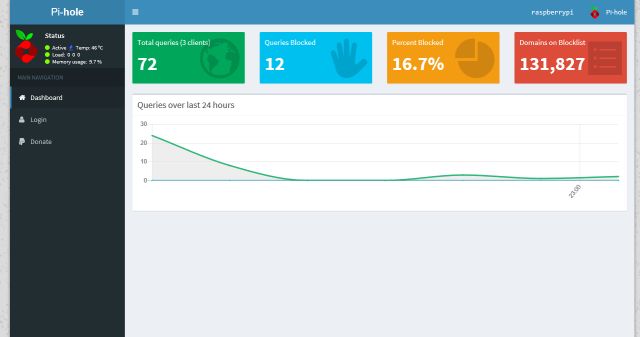
If you want to block ads, trackers, and analytics tools on your home network then Pi-hole is the best way to do it. And for that, you need a Raspberry Pi 4 which will re-route all the traffic on your home network to Pi-hole and then strip them off ads and malicious links. You will have to make some changes to your router and then install Pi-hole on RPi4. The steps are pretty simple and can be done if you have even basic knowledge of networking. You can go through this guide to install Pi-hole on Raspberry Pi 4.
8. Run Netflix
We all know that Netflix is not supported on Raspberry Pi 4 because Raspbian is deemed as an insecure platform by Netflix. However, there are a few hacks that enable DRM and it enables Netflix support for Raspberry Pi 4. You just need to install the Chromium browser and make some changes to the libwidevine library to run Netflix on Raspberry Pi 4. However, the video resolution will be capped at 720p. Nevertheless, the best part is that enabling DRM also brings support for Disney+, Spotify, Hulu, HBO, Amazon Prime, and more on RPi 4. So go ahead and run Netflix along with other streaming platforms on your Raspberry Pi 4. You can find the detailed guide over here.

9. Build a Solar Powered Raspberry Pi 4
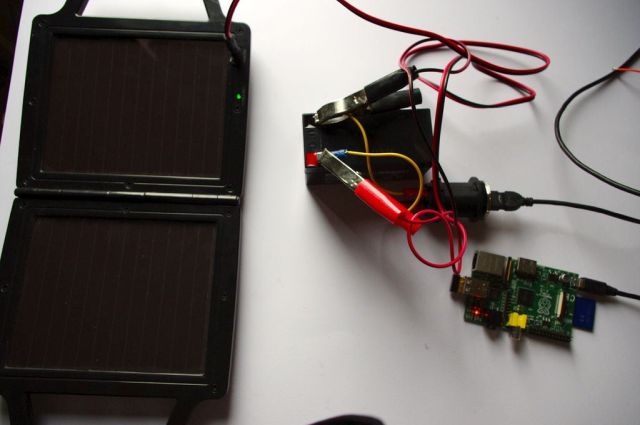
This is a fun project that you can do on your Raspberry Pi 4 without much expertise. It does not require many components except for some sunlight and a solar panel. Also, you need a battery to store all the energy, a USB power adapter, and some wires. Try to use a battery with more voltage and ampere capacity. By the way, RPi 4 runs well on a 5V/3A power source. After that, connect the battery to the solar panel and Raspberry Pi 4. Next, place the solar panel in sunlight and turn on RPi4. Voila, there you have it– a solar-powered Raspberry Pi 4. For detailed instructions, you can follow the guide here.
10. Smart Display
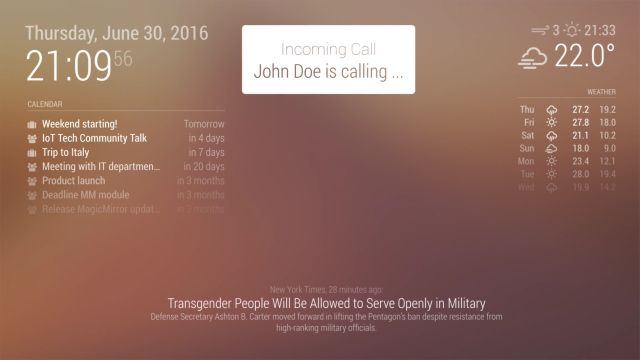
For me, Smart Display is one of the best Raspberry Pi 4 projects on this list. You can create your own smart display just like Google Nest Hub with schedules, weather information, beautiful wallpapers, slideshow, and more. If you have a display lying around then Raspberry Pi 4 will help you turn it into a smart display. You just need to install an app called Magic Mirror on Raspbian and it will pull data through third-party apps and neatly display all the information. Go through this guide to learn more about the instructions.
11. Create a Kodi Tablet
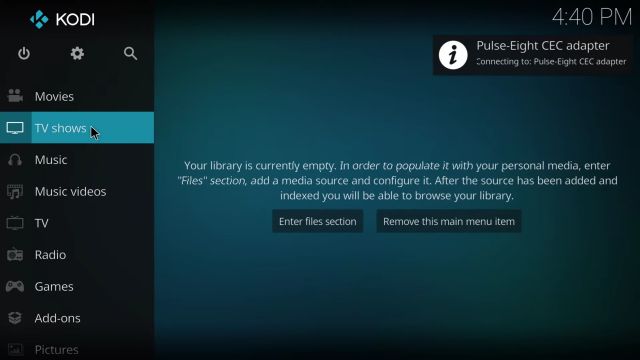
If you want the Kodi Media Center installed as a standalone OS then you can try this awesome project on Raspberry Pi 4. You can get a touch screen display, preferably the 7-inch Pi touch display by Raspberry. After that, you need to flash LibreELEC (it’s a Linux distro for Kodi) on a microSD card using Etcher or any other image flashing software. Now plug the SD card and enjoy Kodi on your Raspberry Pi 4 without any issue. To learn more about the process, head over to this tutorial.
12. Temperature Log
If you are a beginner, Temperature log is a simple project that you must do on your Raspberry Pi 4 to learn the basics of programming. You will also learn how to interact with system components. The project allows you to measure the temperature of the SoC and log it in a file for later viewing. You will have to use a Python script and deploy it on the command line to automatically log the temperature after the boot-up. The best part is that you don’t need an additional sensor as the SoC on Raspberry Pi 4 comes prebuilt with a temperature sensor. So go ahead and monitor the CPU temperature of your Raspberry Pi 4 by following this guide.

13. Build an Android TV
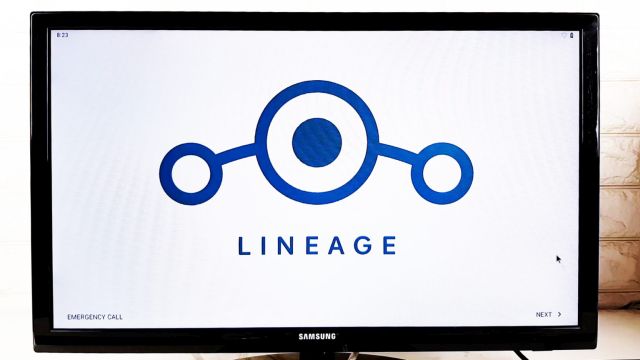
With earlier versions of Raspberry Pi, you could convert your boring TV to Android TV, but the performance was not that great. However, now that Raspberry Pi 4 has got powerful specs, you can build a reliable Android TV at a fraction of the cost of a smart TV. On top of that, LineageOS has released a dedicated Android TV build for Raspberry Pi 4 which is based on Android 9 so that is great. You just need to download the image and flash it on a microSD card. Keep in mind, the interface has the standard Android tablet layout so you need to install a TV launcher from the Play Store and you will be all set. Also, you should use a Raspberry Pi 4 case that comes with a fan and heat sink to cool down the CPU. To learn more about the process, follow the detailed instructions over here.
14. NAS Server
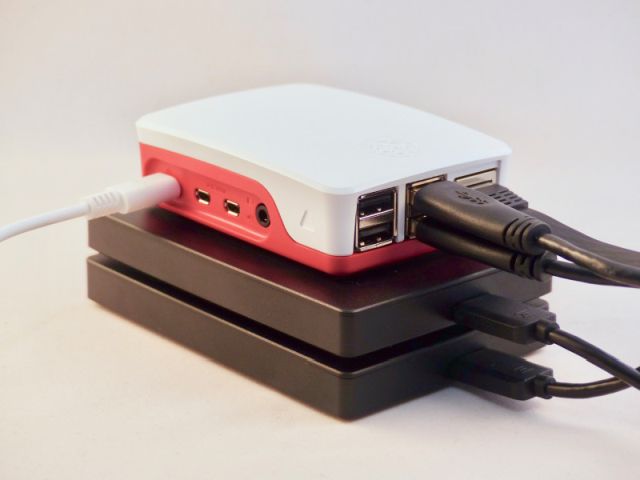
One of the main criticisms of Raspberry Pi 3B + was that it didn’t have USB 3 ports which made it slower to copy files to a NAS server. However, with Raspberry Pi 4, you have got USB 3 and Gigabit Ethernet port so now you can build an efficient NAS server without a hitch. You can install Raspbian Lite and set up SSH to access the files remotely on your network. Further, create the RAID method to define how you wish to back up the data. I would say, Raspberry Pi 4 is the best tiny machine to build a NAS server. You can learn more about the steps from here.
15. RFID Door Lock
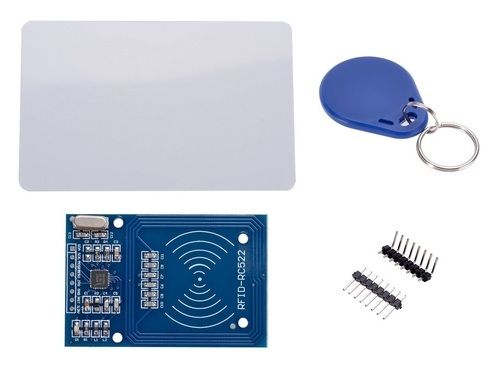
This is an advanced Raspberry Pi 4 project so if you have the expertise you can definitely try it. While we have seen home automation and door lock systems using biometric and password methods, but this one uses an RFID tag to unlock the door. The RFID system utilizes electromagnetic fields to transfer data over short distances. It’s a more intuitive and seamless solution. For this project, you will need a solenoid lock, RFID sensor, relay module, and some external power supply. After that, you need to install some tools from the command line and you will be all set. You can read the complete instructions here.
The Best Raspberry Pi 4 Projects Sorted for You
So those are the 15 best Raspberry Pi 4 projects that you should try on your single-board computer. If you are a beginner then you should try some simple projects like logging temperature of the processor, building an Android TV, and more. However, if you are a long-time Raspberry Pi hobbyist then we have mentioned ample advanced projects for you too.
Anyway, that is all from us. If you found the article helpful then do comment down below and let us know your thoughts. Also, do mention your favorite Raspberry Pi projects that you have built in the past. In case, you want to try a new single-board computer then you can head over to our article on the best Raspberry Pi 4 alternatives.